

In today’s fast-paced world, convenience and efficiency are paramount. Smart home technology offers both, transforming your living space into a hub of innovation. This weekend, embark on a project that will not only enhance your daily life but also future-proof your home: installing smart lighting and voice-controlled devices.
Why Go Smart?
The benefits of a smart home extend beyond mere gadgetry. Here’s why you should consider making the switch:
- Convenience: Control your lights, thermostat, and entertainment with simple voice commands or a tap on your smartphone.
- Energy Efficiency: Smart lighting and thermostats can optimize energy usage, leading to lower utility bills.
- Enhanced Security: Integrate smart locks, cameras, and motion sensors for greater peace of mind.
- Increased Home Value: Smart homes are attractive to potential buyers, adding significant value to your property.
- Accessibility: Smart technology can greatly assist individuals with mobility challenges, making daily tasks easier.
Getting Started: The Essentials
Before you dive in, let’s gather what you’ll need:
- A Reliable Wi-Fi Network: This is the backbone of your smart home. Ensure strong signal strength throughout your house.
- Smart Hub (Optional but Recommended): While many devices connect directly to Wi-Fi, a hub (like Amazon Echo, Google Nest Hub, or Apple HomePod) can centralize control and enable more complex automations.
- Smart Light Bulbs or Switches: Choose between individual smart bulbs that screw into existing fixtures or smart light switches that replace your current ones.
- Voice Assistant Device: An Amazon Echo or Google Nest device will be your primary interface for voice control.
- Basic Tools: Screwdriver, wire strippers (if installing smart switches), and a voltage tester.
Step-by-Step Installation Guide
1. Plan Your Smart Lighting Strategy
Decide which areas of your home you want to make smart first. Start with high-traffic areas like the living room, kitchen, or bedroom. Consider whether you want dimmable lights, color-changing options, or simply on/off control.
2. Install Smart Light Bulbs (The Easiest Option)
- Unscrew your old bulbs: Make sure the light switch is off first!
- Screw in your new smart bulbs:
- Download the accompanying app: Most smart bulbs come with their own app for initial setup.
- Pair the bulbs: Follow the in-app instructions to connect your bulbs to your Wi-Fi network. This usually involves turning the light on and off a few times.
- Rename your lights: Assign clear names like “Living Room Lamp” or “Kitchen Overhead” for easy voice control.
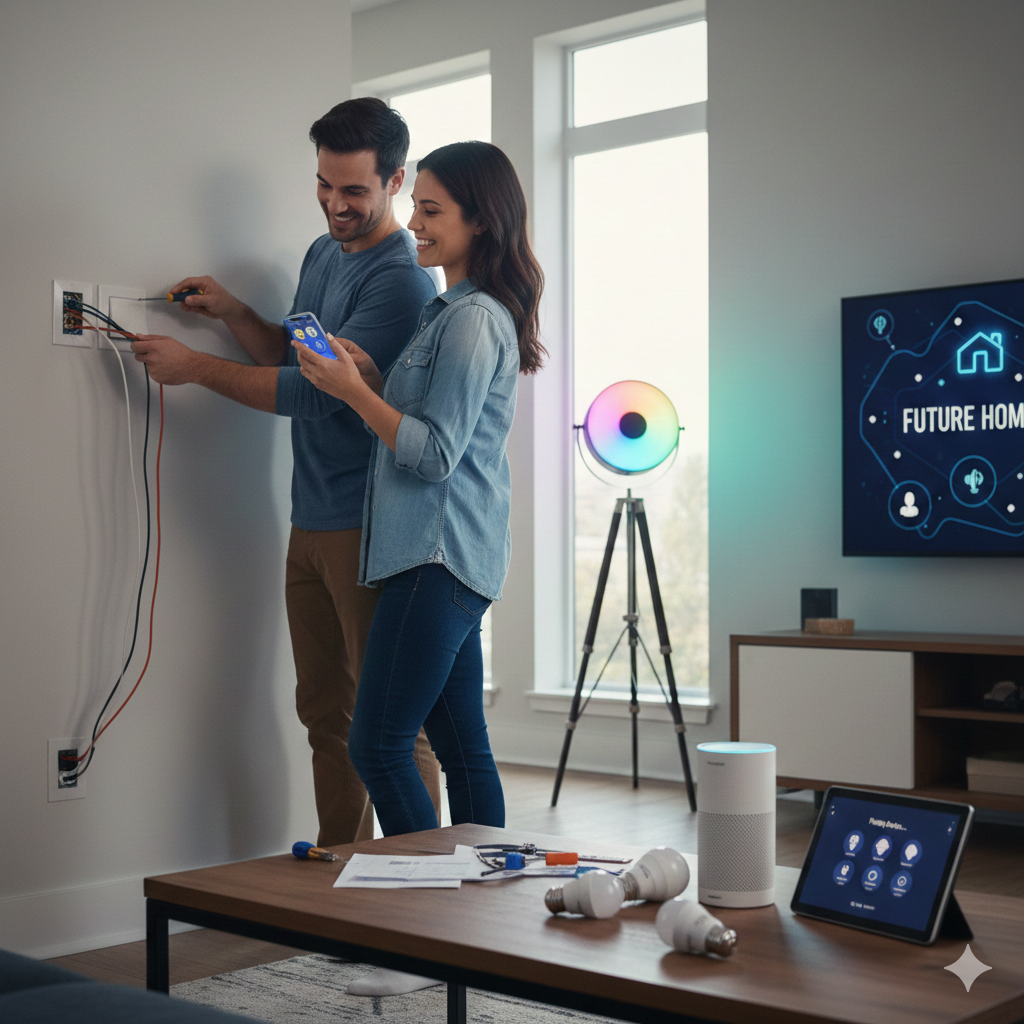
3. Install Smart Light Switches (For a More Integrated Approach)
Note: If you’re not comfortable with basic electrical work, consider hiring a qualified electrician for this step.
- Turn off power at the breaker: This is crucial for your safety. Use your voltage tester to confirm the power is off before touching any wires.
- Remove the old switch: Unscrew the faceplate and then the switch itself from the wall box.
- Disconnect wires: Carefully disconnect the wires from the old switch. Take a picture of the wiring for reference.
- Connect the smart switch: Follow the smart switch’s wiring diagram. Typically, you’ll connect the line, load, neutral, and ground wires.
- Secure the new switch: Screw the smart switch into the wall box and attach the new faceplate.
- Restore power and pair: Turn the power back on at the breaker. Follow the smart switch’s app instructions to connect it to your Wi-Fi network.
4. Set Up Your Voice-Controlled Device
- Plug in and power on: Place your Amazon Echo or Google Nest device in a central location.
- Download the app: Install the Amazon Alexa app or Google Home app on your smartphone.
- Follow in-app setup: Connect the device to your Wi-Fi network and log in to your account.
- Link smart lighting: Within the Alexa or Google Home app, go to the “Devices” section and search for your smart lighting brands. Link them to your voice assistant.
- Create groups and routines: Group lights by room (e.g., “Living Room Lights”) and create routines like “Good Morning” (lights gradually turn on, thermostat adjusts) or “Movie Night” (lights dim, smart TV turns on).
Expanding Your Smart Home Horizon
Once your smart lighting and voice control are set up, consider these additions to further future-proof your home:
- Smart Thermostat: Control your home’s temperature from anywhere, learning your preferences and optimizing energy use.
- Smart Plugs: Turn any dumb appliance into a smart one. Control lamps, fans, or coffee makers with your voice or app.
- Smart Security Cameras and Doorbell: Monitor your home remotely and see who’s at your door.
- Smart Locks: Lock and unlock your doors from your phone and grant temporary access to guests.
The Future is Now
By dedicating a weekend to installing smart lighting and voice-controlled devices, you’re not just adding gadgets; you’re investing in a more convenient, efficient, and secure future for your home. Enjoy the ease of controlling your environment with a simple command, and relish the feeling of living in a truly modern dwelling.