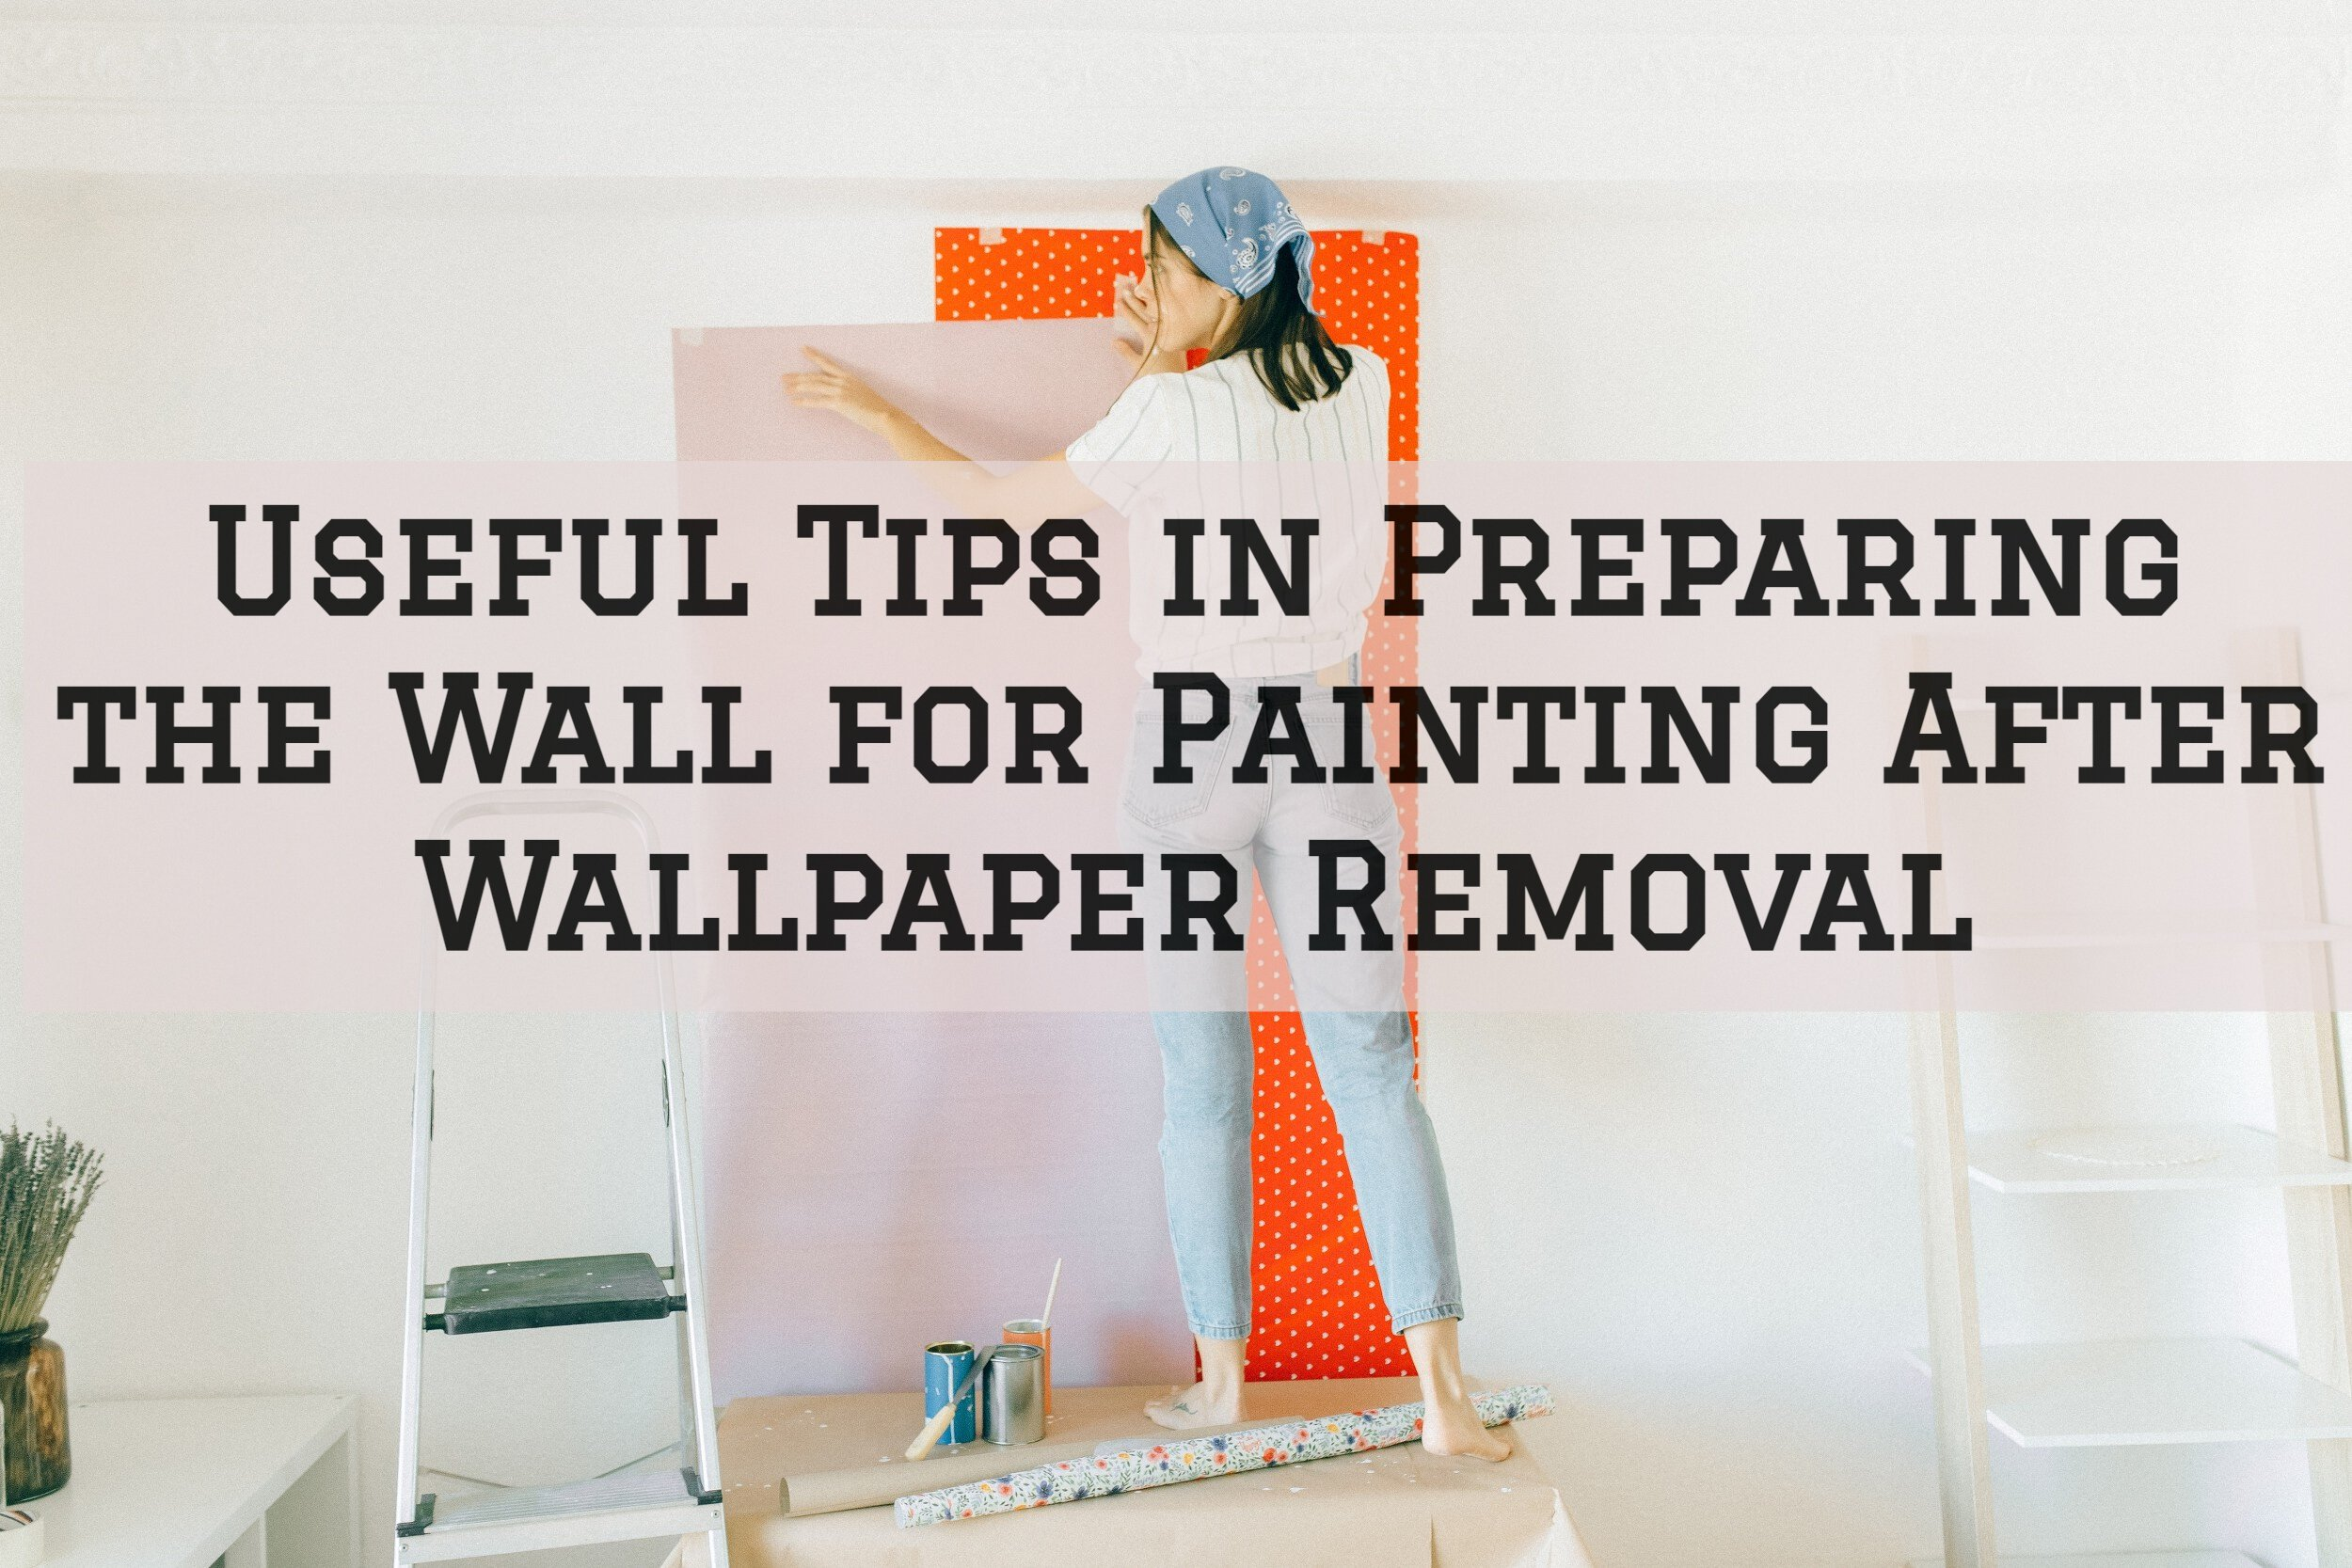
Removing wallpaper can dramatically change the look of a room, but it frequently leaves walls in need of some TLC before they can be painted. Whether your walls are drywall or old cataplasm, proper medication is pivotal to achieve a smooth, long- continuing makeup finish. Then is a comprehensive companion on how to prepare your walls for oil after wallpaper junking.
Step 1: Remove Wallpaper Residue
Once the wallpaper is out, you will probably have some tenacious residue left on the walls. Then is how to handle it;
1. Wash the Walls: Mix warm water with a small quantum of dish cleaner or a wallpaper tenacious way. Using a sponger or cloth, drop the walls to remove as important glue as possible.
2. Wash: After recalling, wash the walls with clean water to remove any cleaner or tenacious way residue.
3. Check for Residue: Run your hand over the wall. However, there’s still tenacious left wing, If it feels sticky or rough. Repeat the washing and irrigating process until the walls feel smooth.
Step 2: form Any Damage
Removing wallpaper can occasionally damage the wall face. check the walls for any damage similar as holes, cracks, or ruptures.
1. Fill Holes and Cracks: Use a putty cutter to apply spackle or common emulsion to any holes or cracks. For larger holes, you might need a patch tackle.
2. Smooth the face: Once the spackle or common emulsion is dry, beach the repaired areas with fine- fortitude sandpaper until smooth.
3. Clean the Dust: Wipe down the walls with a damp cloth to remove any dust from grinding.
Step 3: Prime the Walls
Priming is a pivotal step, especially after removing wallpaper. It helps to seal the wall face and provides a good base for the makeup to cleave to.
1. Choose the Right manual: For drywall, a water- grounded manual is generally sufficient. For old cataplasm walls, an oil painting- grounded or shellac- grounded manual might be better, as it can seal any remaining glue and help it from percolating through the makeup.
2. Apply the manual: Use a comber for large areas and a encounter for edges and corners. Apply a harmonious, indeed fleece of manual across the entire face.
3. Let it Dry: Allow the manual to dry fully, following the manufacturer’s recommendations for drying time.
Step 4: Beach the Primed face
Priming can occasionally leave the face slightly rough. smoothly beach the primed walls with fine- fortitude sandpaper to insure a smooth face for oil.
1. Beach smoothly: Use 220- fortitude sandpaper to smoothly beach the entire face. Be careful not to beach too hard and remove the manual.
2. Clean Again: Wipe the walls with a damp cloth or method cloth to remove any sanding dust.
Step 5: Final examination and Touch- Ups
Before you start painting, do a final examination of the walls.
1. Check for defects: Look for any areas that might need a touch- up, similar as small holes or uneven spots.
2. Touch- Up: Use spackle or common emulsion for minor repairs, beach smooth formerly dry, and spot- high if necessary.
Step 6: Painting the Walls
Now that your walls are duly set, you ’re ready to paint.
1. Choose Your Paint: elect a high- quality interior makeup in your asked color and finish.
2. Cut- In Edges: launch by cutting in around the edges of the walls with a encounter.
3. Roll the Paint: Use a comber to apply makeup to the larger areas, working in small sections and using a W or M pattern to insure indeed content.
4. Alternate Fleece: Allow the first fleece to dry fully, also apply a alternate fleece for a smooth, indeed finish.
Tips for Old Cataplasm Walls
When dealing with old cataplasm walls, there are a many fresh considerations;
– Check for Stability: insure the cataplasm is stable and not crumbling. However, you may need to secure it with cataplasm washers or indeed consider professional form, If it’s loose.
– Use a cling manual: Aged cataplasm can be more pervious, so a cling manual can help insure the makeup adheres well.
– Consider Skim Coating: If the cataplasm is veritably uneven, a skim fleece of common emulsion can produce a smoother face before priming and oil.
Conclusion
Preparing walls for oil after removing wallpaper involves thorough cleaning, repairing, priming, and sanding. By taking these way, you insure that your walls are in the stylish possible condition for a indefectible makeup job. Whether your walls are drywall or old cataplasm, proper medication is crucial to achieving a beautiful, long- lasting finish. So, roll up your sleeves, gather your inventories, and get ready to transfigure your space with a fresh fleece of makeup.